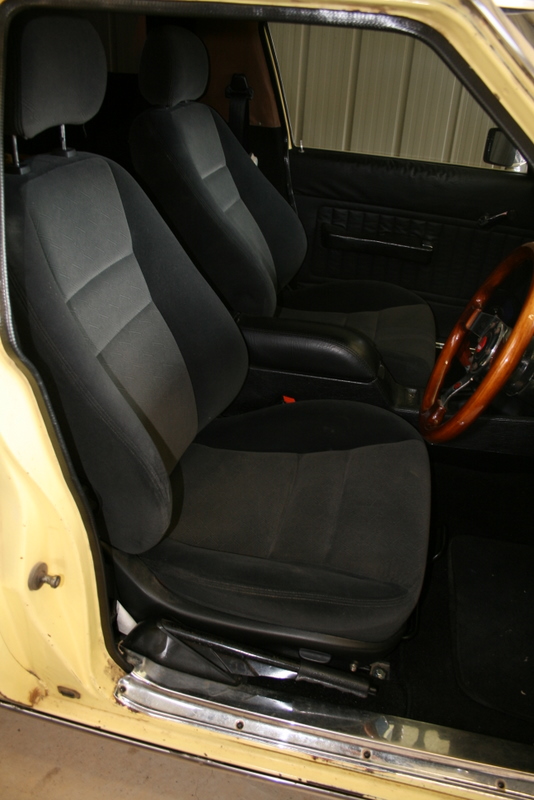
Ok, the new seats have been in for just over a week, and I must say they are brilliant! Here's a little guide to how I did them, and (of course) some photos.
Disclaimer: This was the way I approached the project, and may not necessarily be the best or easiest way to tackle this.
I already knew that the front bolt holes in the VZ seats will line up with the WB front seat holes in the floor. That's the only thing that's easy about this!
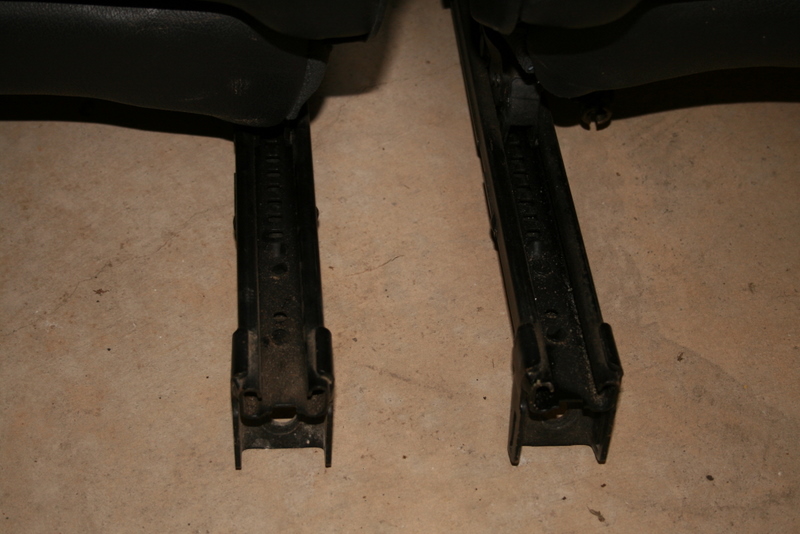
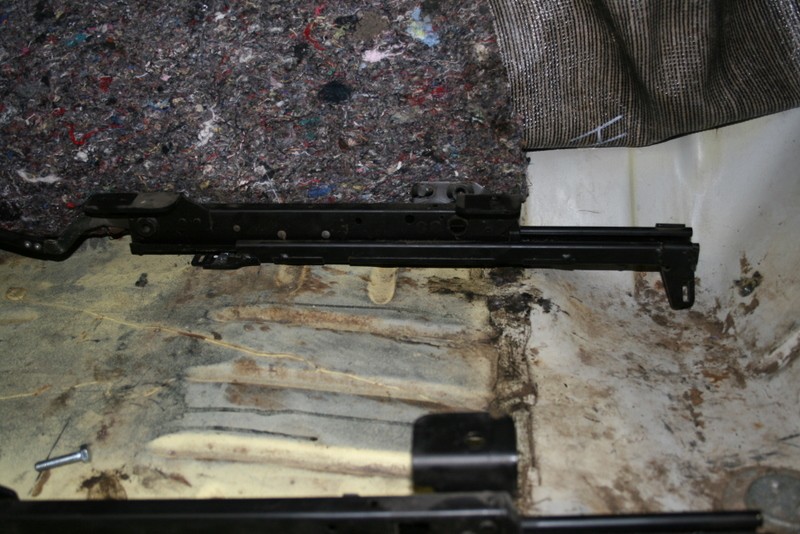
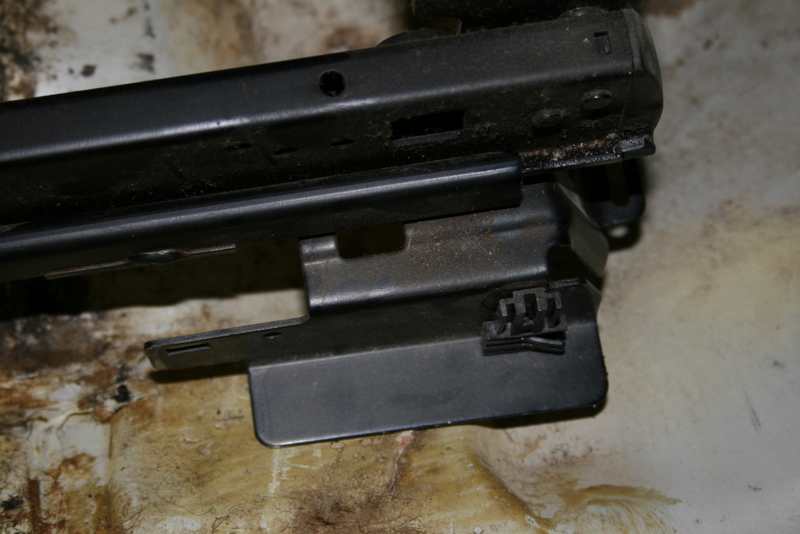
The floor pans are different. The rear mounting points on the VZ rails don't lineup, and are designed to bolt in at 90 degrees:
There are two approaches to fitting the seats - the first is to mount the seats by modifying the WB floor. This involves welding a tab of metal onto the floor to suit the VZ seat brackets. Another vanner sent me some photos of such an installation (Thanks Dean!). The second method is to modify the VZ seat rails to suit the existing seat mounting points. For various reasons, I decided to try the second way - so this is it. The first way probably would have been easier.
 Step 1
: I removed the new seat from the rails, and placed them in the van to see how things would line up.
Remember to take your old seat out first, otherwise it could get awkward.
I started with the passenger side first as it's easier. I used a level to try and work out what height the rails should be - the confusing thing is that the seat rails look as though they are designed to sit at an angle in the Commodore, so mounting them level in the van would have created an awkward seating angle.
At one point I took the rails out of the van, put the seat back on the rails, then sat in it to try and get a feel for the correct angle. I put a level on the rails, then moved the rails into the car and tried to get the same level.
Step 2: As you can see from the photo below, there's a lot of brackets at the rear of the VZ rails. I cut these off, as I wasn't going to use them, and they were in the way.
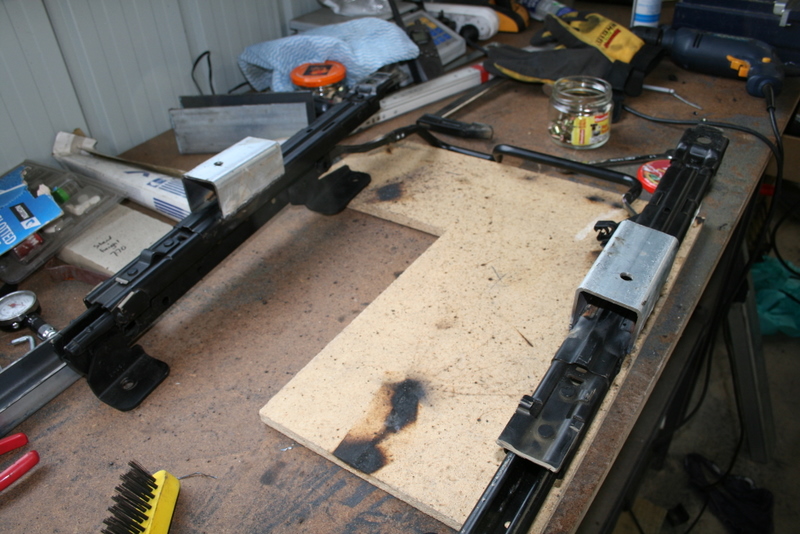
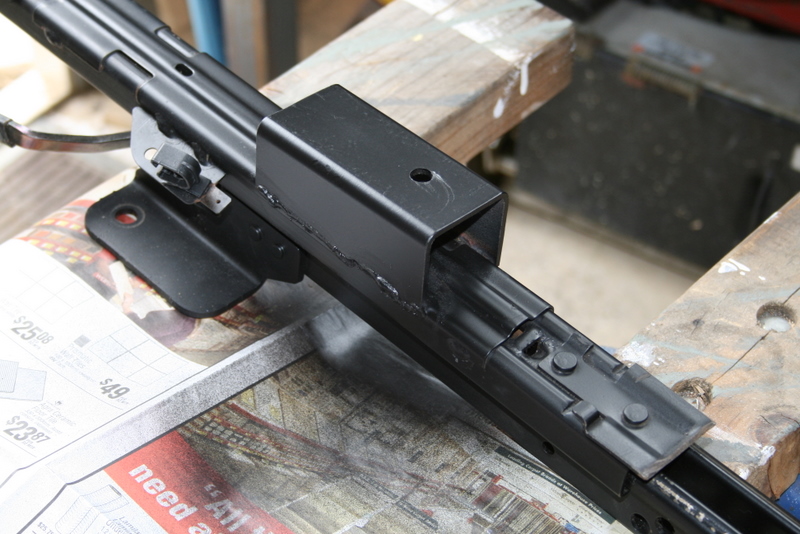
Step 3: Putting the rails back in the car, and using the level, I worked out what sort of bracket I needed to make to weld onto the seat rails. In the end (for strength) I decided to cut a 100mm long piece of "U" bracket. I made a template from cardboard to start with, and then managed to score an off cut of some rectangular tube with 2.5mm thick walls from the local metal place.
After making the brackets and drilling a bolt hole, I welded them in the correct place to the bottom of the seat rails:
Step 4: Back to the car, to make sure that everything lines up. All good. Hit the the new work with some matt black paint, and it's starting to look factory:
Step 5: Bolt the seat back to the rails, then bolt the whole lot back into the car. This proved actually to be very fiddly, as the bolt has to be put through the bracket from inside the "U" piece. My best friend here is a set of ratchet ring spanners which made the job a little easier.
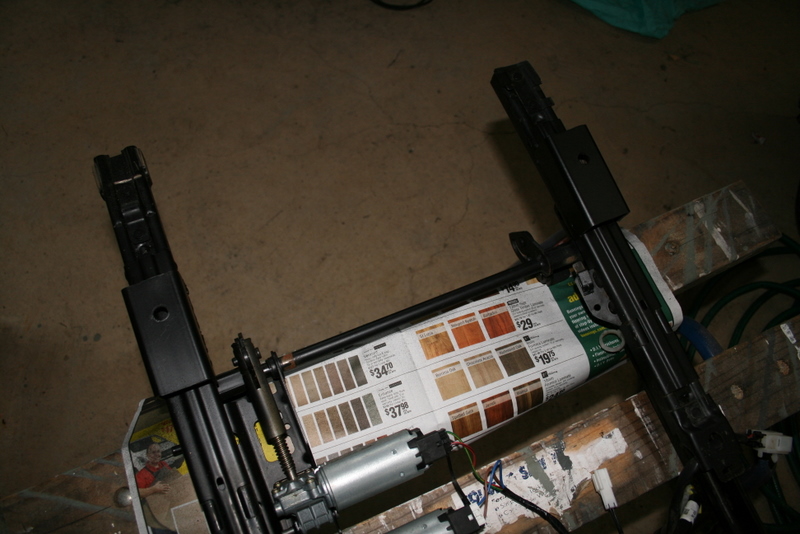
Step 6: Do the driver's side, as above. With the driver's side, there are some motors on the seat rails which are used for electric height adjustment. This time I decided to do all the work on the rails, and bolt them in place first, then bold the seat on top after wards. The photo below shows the drivers side after painting. You can see one of the motors in the picture:
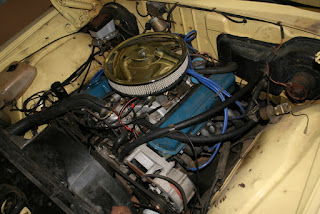
Step 7: Connect the wiring up! As you can see in the picture below, there's a connector which comes from the driver's seat. I cut this, made my own connector and using a fuse and some wire I ran this to the car's fuse box - patching it in so that it's only live when the ignition is turned on.
Step 8: Sit in your new drivers seat, nursing a beer, playing with the electrics, and grinning like a mad man.
